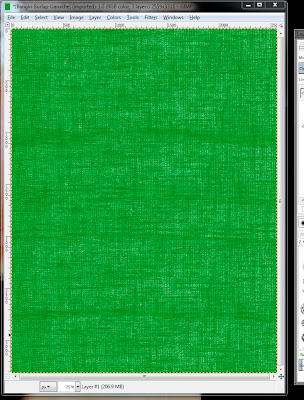
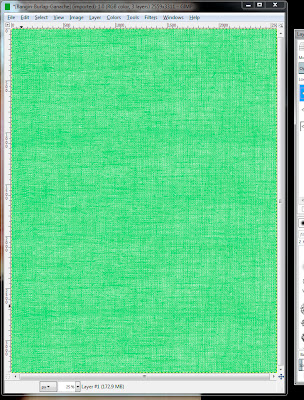
My friend and one of My Time Made Easy's seasoned design team members, Tangii Crain, wanted to know how she could change the color of a more difficult to work with piece of digital paper we have in the store. Because of the great detail in the pattern it is a bit of a task to use traditional tools to get a nice clean color change. So I showed her a little trick which I have decided to share with all of you as well! Yet another reason why digital paper is so great to work with. If you don't like the color then, guess what, you can change it without having to hunt and/or buy another sheet! If you'd like to see the result Tangii please click this link to view it on her blog!
In this tutorial I will be using GIMP 2.8. Why? Because it's FREE!!! I know that older versions of GIMP will also have all the options I use here as well as Adobe Photoshop CSx Extended and even the cheaper Adobe Photoshop Elements. In other programs the steps may be a little different but with this knowledge you may be able to figure it out on your own. I know that GIMP and Photoshop are laid out very similarly. If you are wondering if your current graphics program will do this look to see if you have the option to add layers and if the layers have different blending modes as I discuss below. If you need help please comment here or on this blog post at the My Time Made Easy blog and I will look into it personally.
In this tutorial I will be using the Bangin' Burlap Acorn Squash and Bangin' Burlap Ganache from the Gardening Greats Acorn Ganache © digital paper set. The darker paper will give a bit of a darker result than the lighter paper, therefore I will be showing you the result of both.
This a a very QUICK 6 step procedure so get ready for the EASY! Don't let the legnth of the blog post intimidate you. It's only long as I have provided screenshots of each step. :D
- Open GIMP and then open up your paper in GIMP. To open the paper click File and then Open. You will see a dialog box. There you need to select the location of the paper, the paper file and then click Open. I have mine in a folder on my desktop as you can see below:


- Select the color you want to use on the palette foreground by double-clicking the foreground color on the Toolbox (in my example it is the green block). Click the gradient square as well as that gradient rectangle to get the desired color:


- Click Layer and then New Layer on the top menu:

- Choose Foreground Color under Layer Fill Type:

- Change the Mode for the layer to Color (make sure your new color layer is selected, if you do nothing between step 4 and 5 it will be selected already):

- You can print directly from GIMP or you can save it as a JPEG so you have your re-colored paper to use forever for printing at anytime you choose:
- To print click File from the top menu and then click Print. A dialog box will appear. Here select YOUR printer, if it is not already selected, and then click the Print button:


- To save a JPEG in GIMP you must use the export feature. To do this click File from the top menu and then Export. You will see a dialog box, type your new file name, select JPEG from the List and then Export. Another dialog will appear, the default setting should be fine so just click Export:


- To print click File from the top menu and then click Print. A dialog box will appear. Here select YOUR printer, if it is not already selected, and then click the Print button:


I hope this comes in handy for you! If you have any question please comment here or on this My Time Made Easy blog post.
Have a wonderful day!


Great job on this tutorial, Sara!
ReplyDeleteThank you Lori and thanks for commenting!!!! :D
DeleteCan you make for me a free blogger template ???
ReplyDeleteSara, I cannot get picture number 4, that is what I cannot seem to find on my version for Mac...:0)
ReplyDeleteI sent you email Romaine. :D
ReplyDelete